Prerequisite
- User should have “Human Capital Management Integration Specialist” job role.
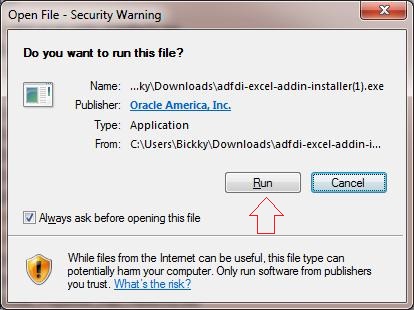
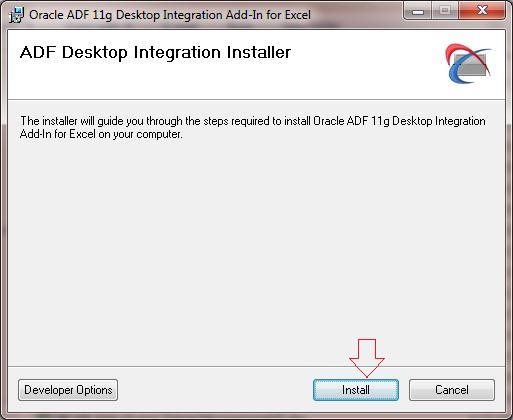
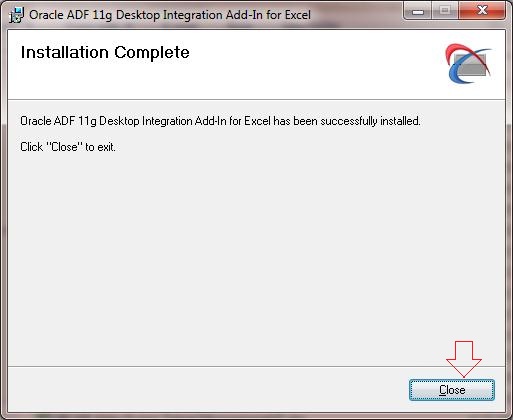
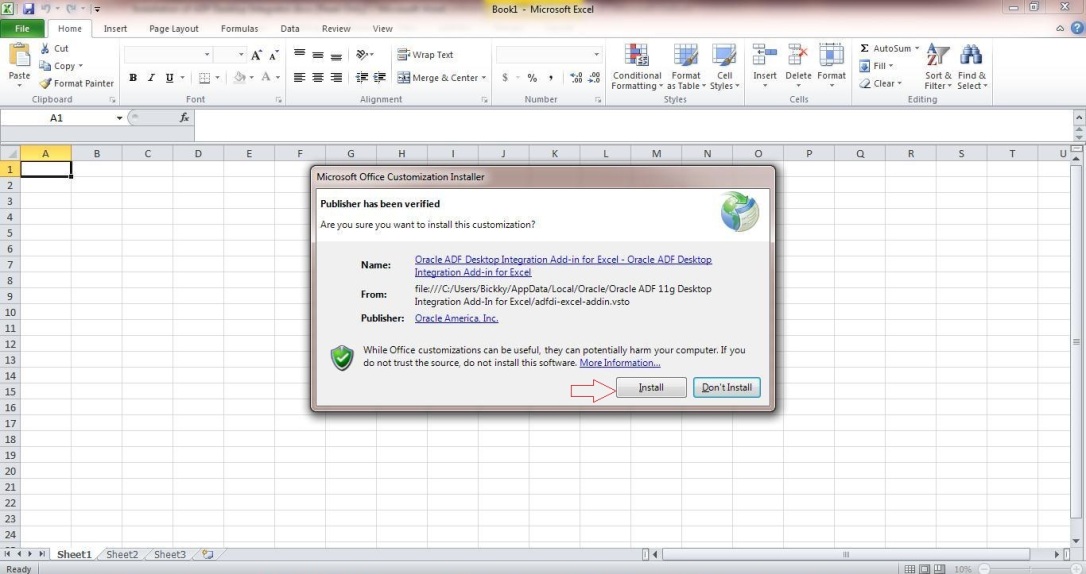
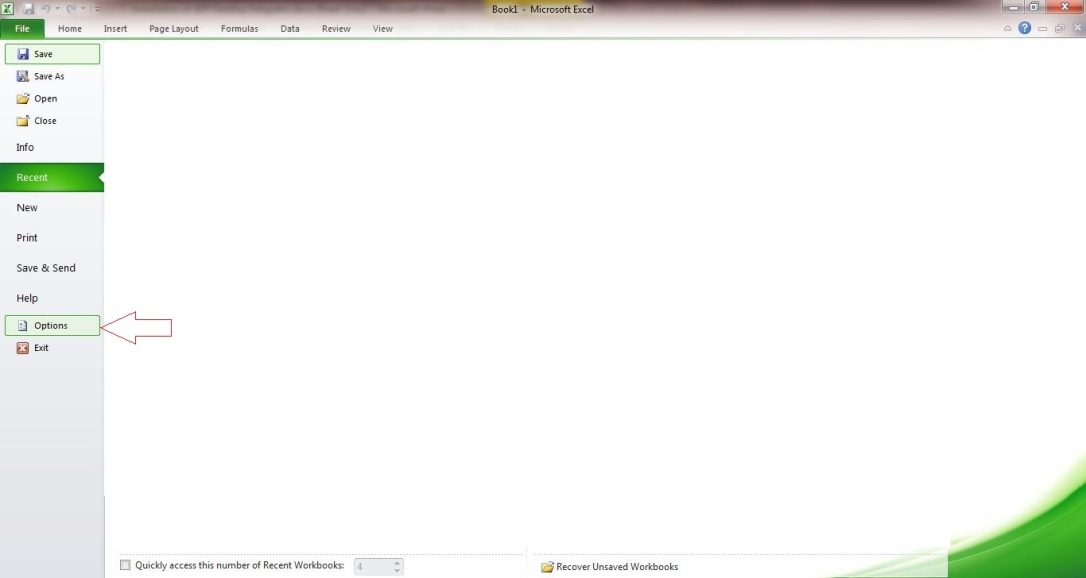
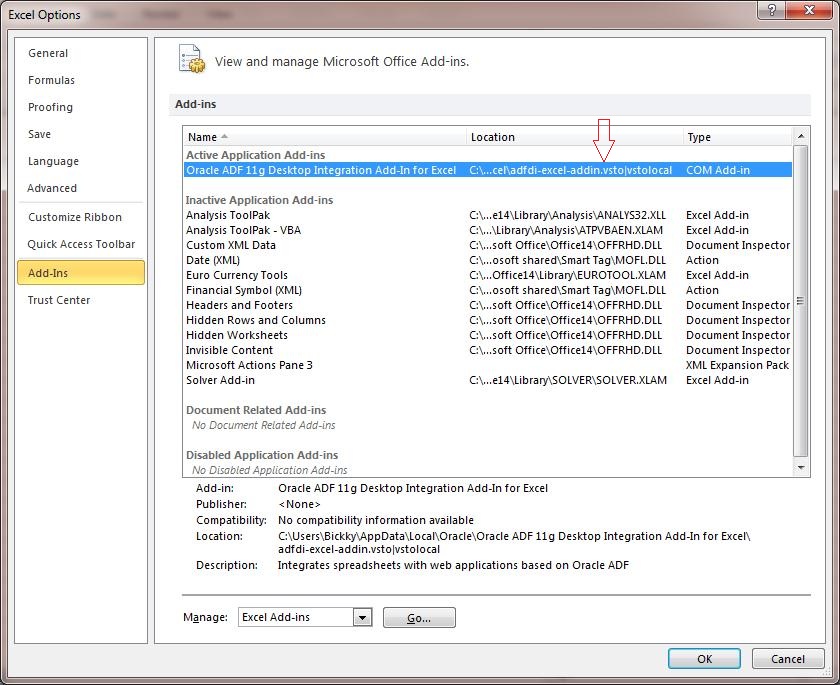
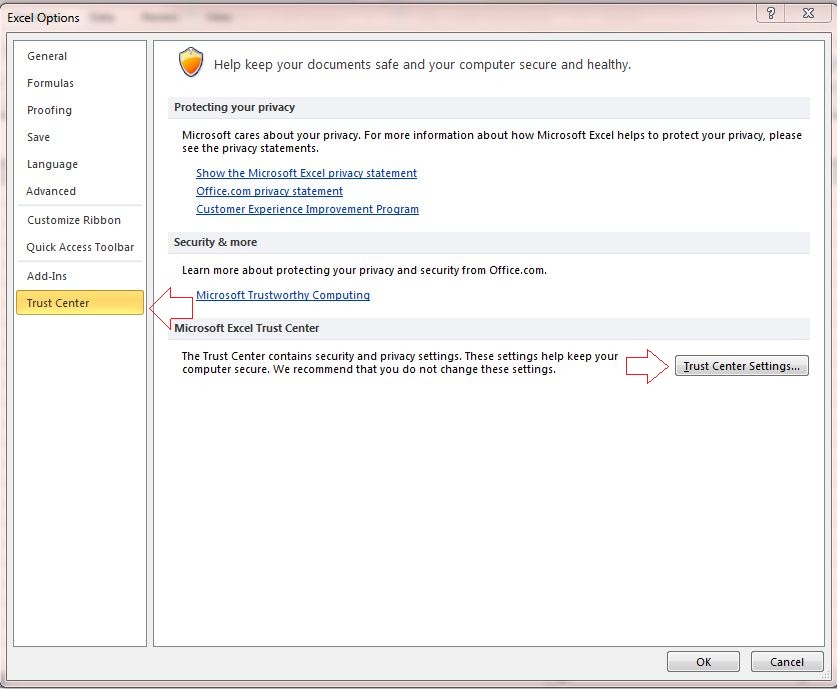
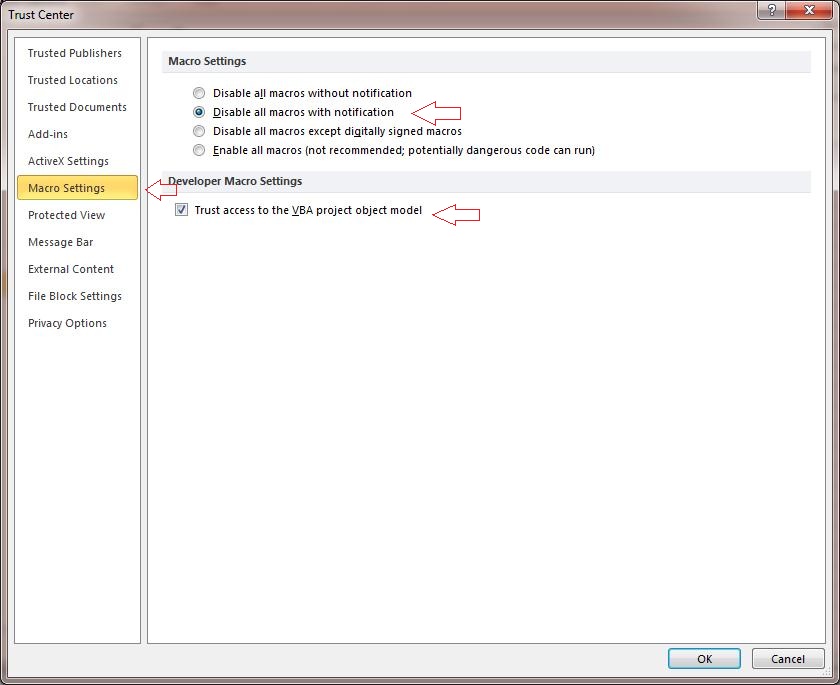
- ADFDI Plugin should be installed. Please refer the article to install ADFDI Plugin
How to generate/configure HCM Spreadsheet Template:
- Configure Lookup Code for Template Category:
Login as Admin user who is having “Human Capital Management Integration Specialist” job role in fusion.
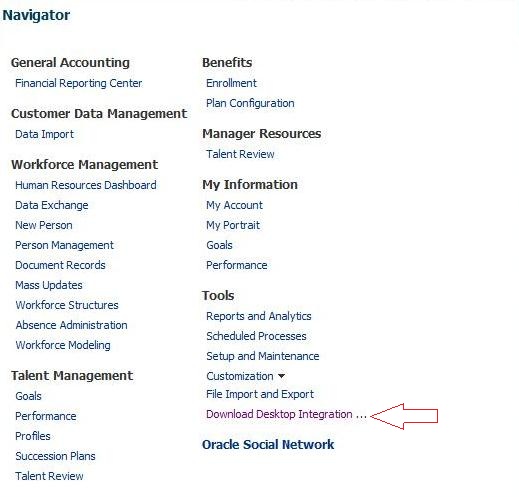
Navigate to Navigator -> Setup and Maintenance Area
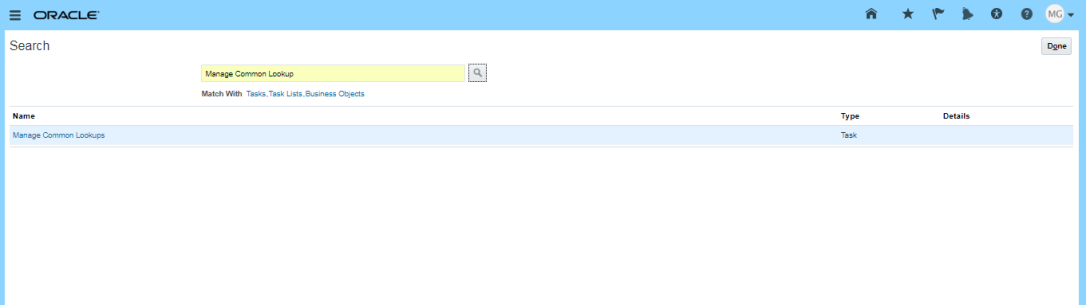
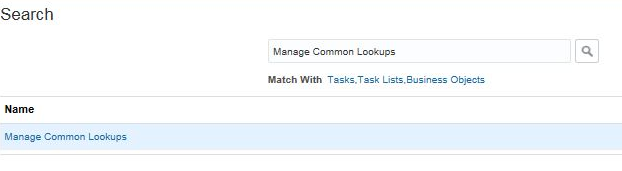
Search Task Name as “Manage Common Lookups”
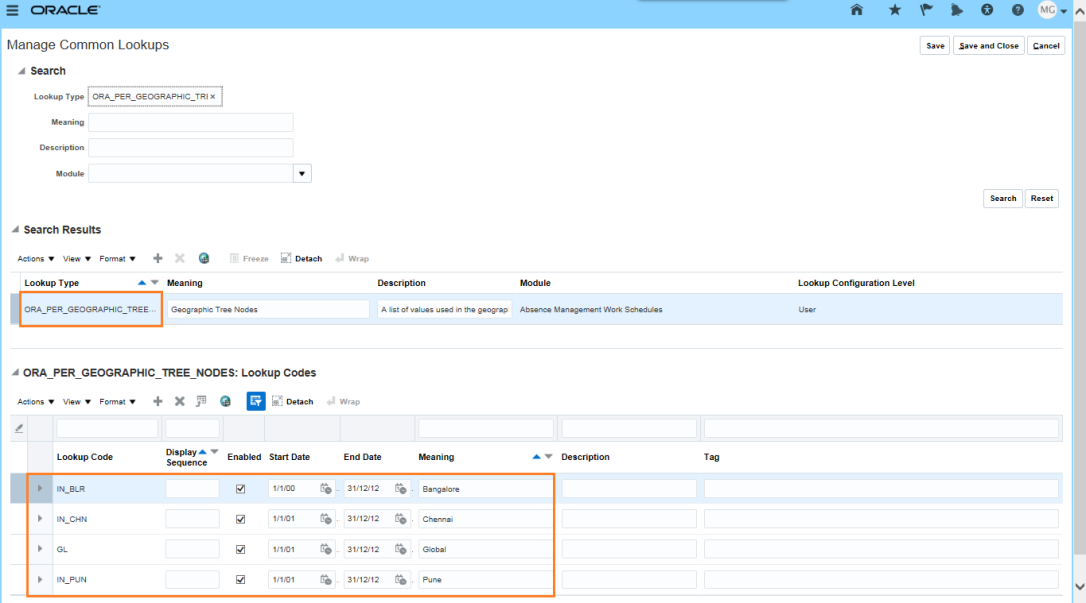
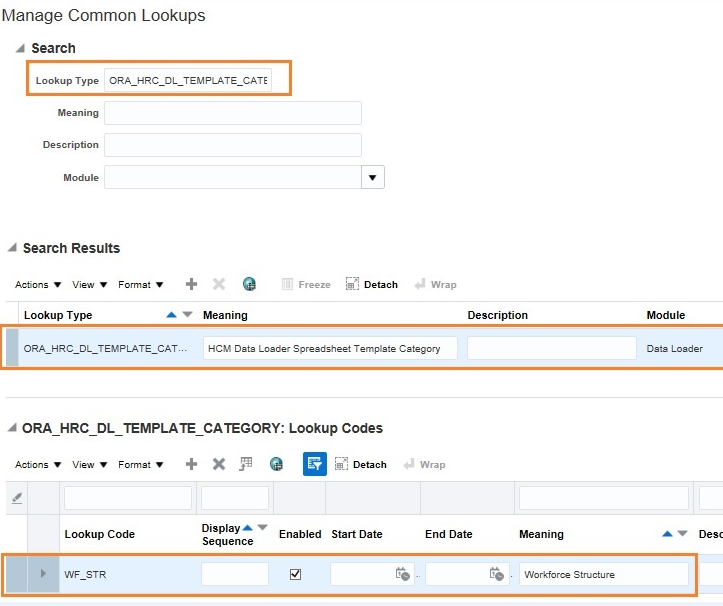
Search Lookup Type as “ORA_HRC_DL_TEMPLATE_CATEGORY”
You can add category for HCM Spreadsheet Template.
Example: category code as “WF_STR” and Meaning as “Workforce Structure” and Click on save button.
2. Configure Spreadsheet template:
Navigate to Navigator -> My Workforce -> Data Exchange
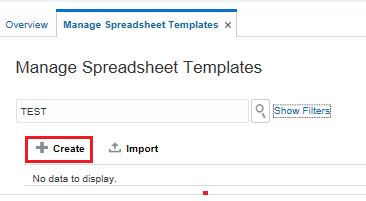
Click on “Manage Spreadsheet Templates” Task on HCM Spreadsheet Data Loader section

Click on Create Button In Manage Spreadsheet Template
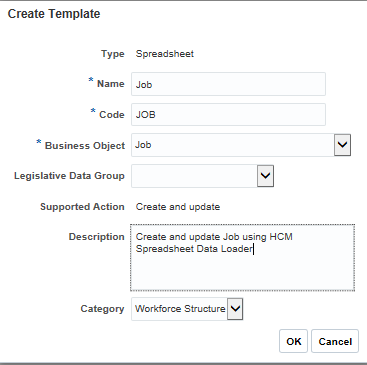
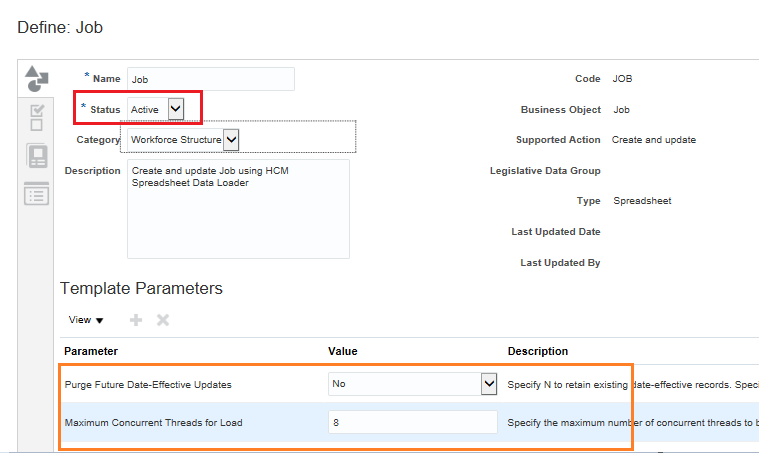
You can Set template Name as “Job”, Code as “JOB”, Business Object as “Job” and Category as “Workforce Structure”. Click on OK Button.
Set Status as “Active”.
Add parameters for Maximum concurrent Threads for Load and Purge Future Date-Effective Updates.
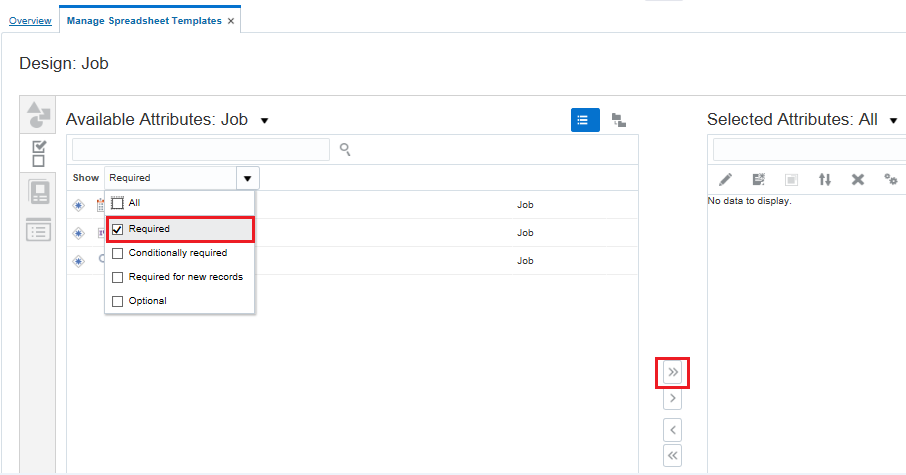
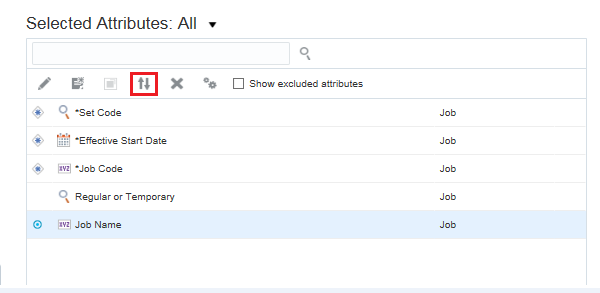
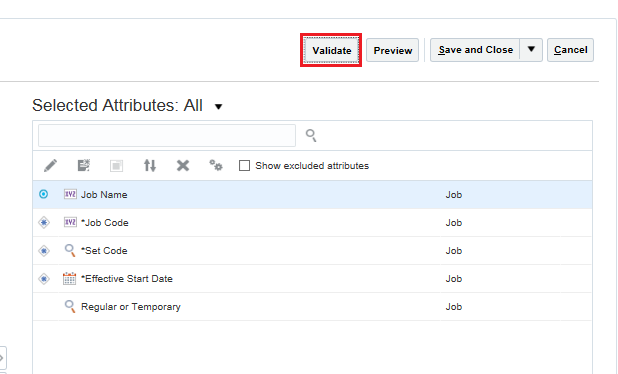
Click on Design tab and Select all/required attributes for Job object as per your requirement and move the attributes into right panel box.
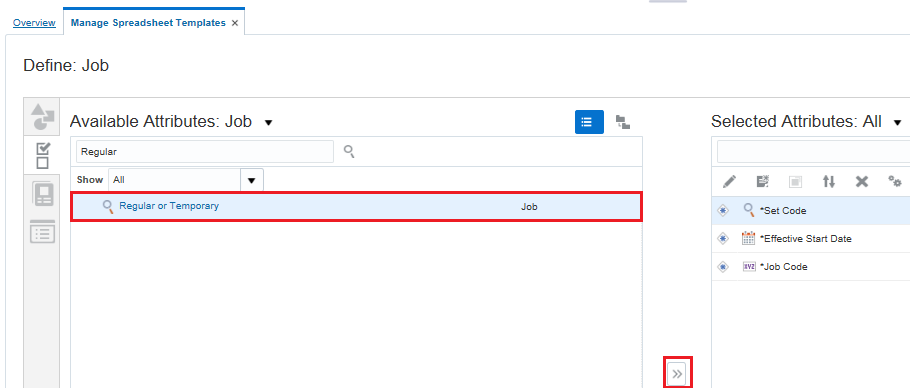
Also, you can search and Select Specific attributes (eg. “Regular”) and add it to right panel box.
You can edit the selected attribute properties if required.
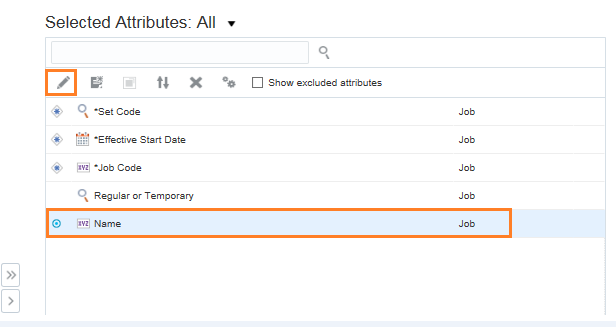
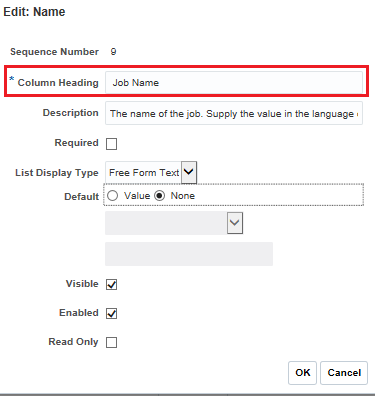
Change the Column Heading from “Name” to “Job Name”.
Also, Edit functionality is enable to change the Column Heading, Description, Required, List Display Type, Default, Visibility, Enabled and Read Only attributes.
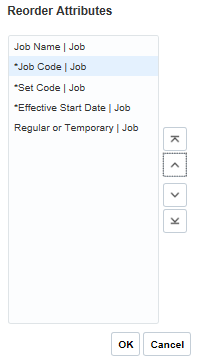
Also, You can reorder the field template by clicking on Reorder button.
Reorder the Job Object attributes if required.
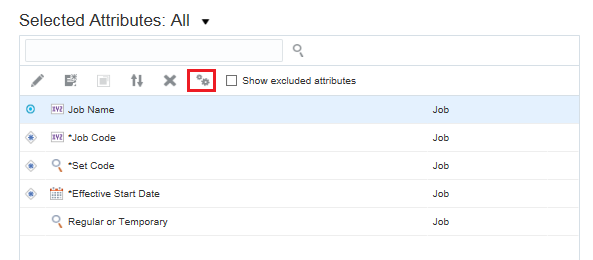
Click on Setting icon if you want configure the attribute in Advance setting UI .
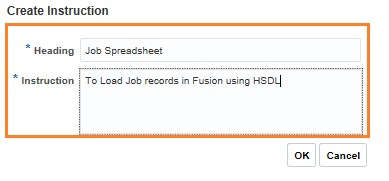
Click Instruction tab, if you want to provide addition instruction in the template header.
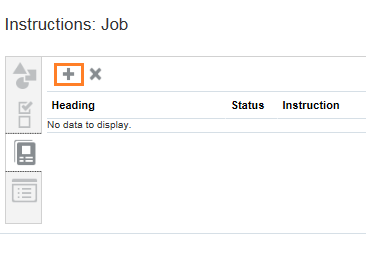
You can provide values to heading and Instruction attributes.
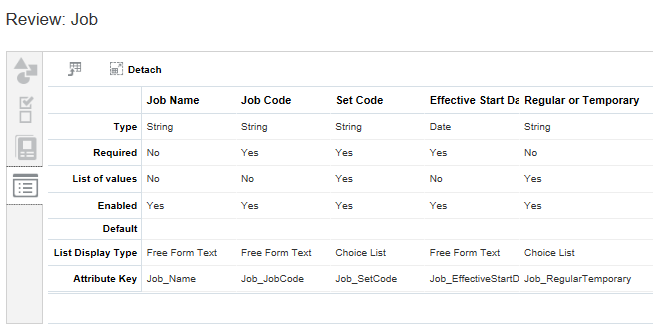
Click on review tab and view the setup.
Click on Validate button to validate job template.
If the template is valid, then you will get success message.

Click on Preview button to preview the template.
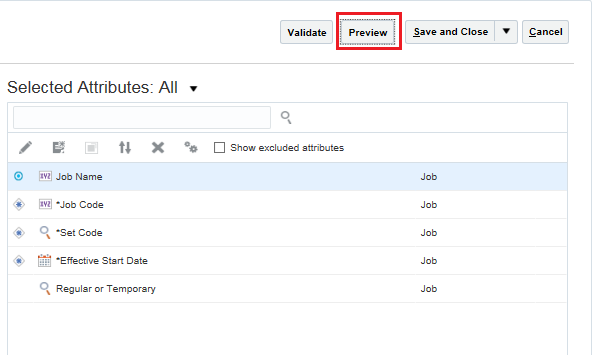
Click on save and close button.
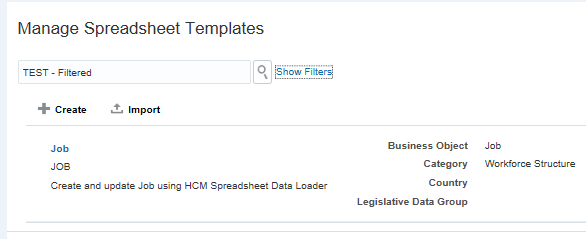
Job Template will be created and able to view in Manage Spreadsheet Template UI.
Options in HCM Spreadsheet:
Copy – Copy and generate duplicate templates.
Export – Export the template and import into another environment.
Download CSV Template – Import records into Spreadsheet template using CSV file
Download XML Template – Import records into Spreadsheet template using XML file
Delete – This is enable only if the template status as “Draft”

3. Run and Load HCM Spreadsheet Data Loader:
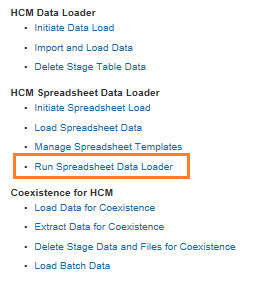
Navigate to Navigator -> My Workforce -> Data Exchange
Click on “Run Spreadsheet Data Loader” Task on HCM Spreadsheet Data Loader section
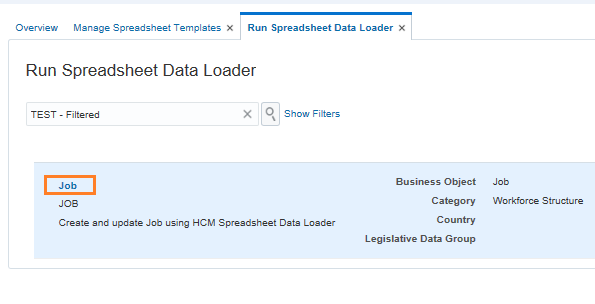
Click on the “Job” Template
Save Job Spreadsheet template into local drive.
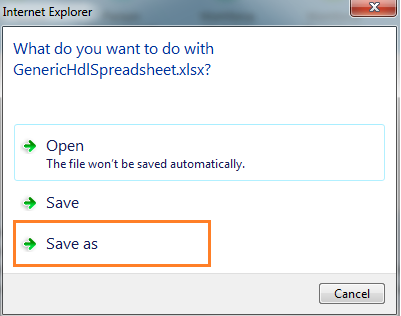
Open the Job Spreadsheet template from local drive and select “yes” to connect the Fusion application. Provide user credential details in the popup Window.

Provide Data set Name and click on “Create Data Set” button in the “Spread sheet Loader” ribbon of excel
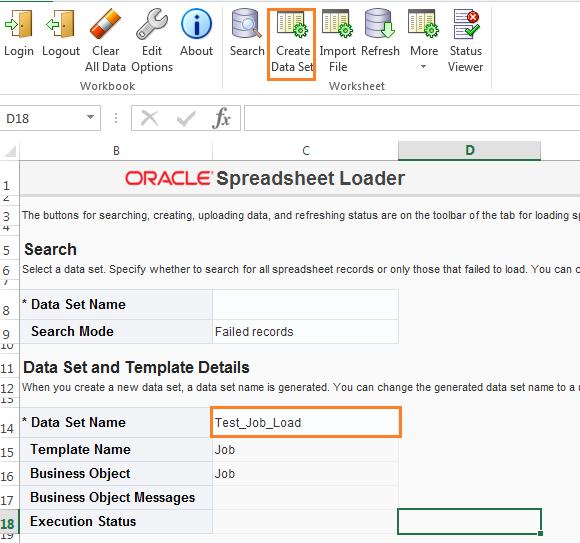
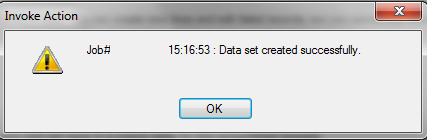
Data Set will be create successfully and will get confirmation message popup.
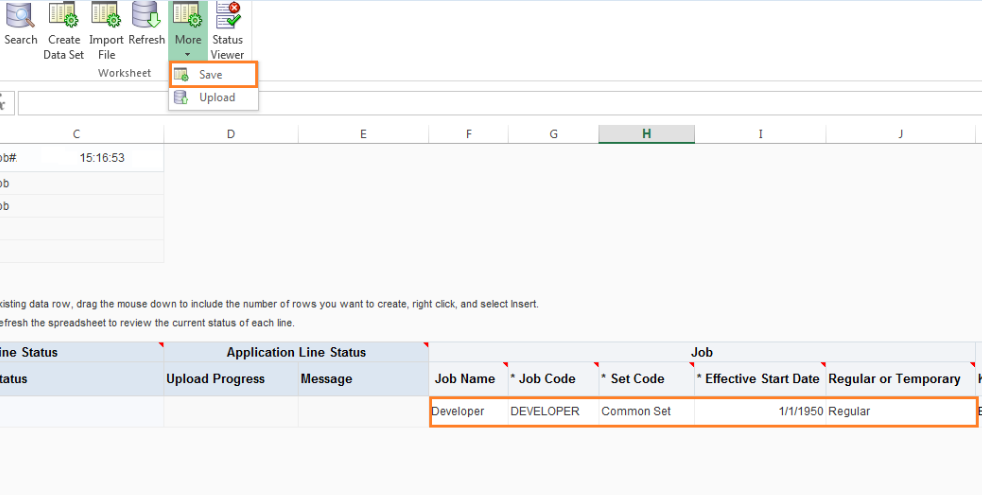
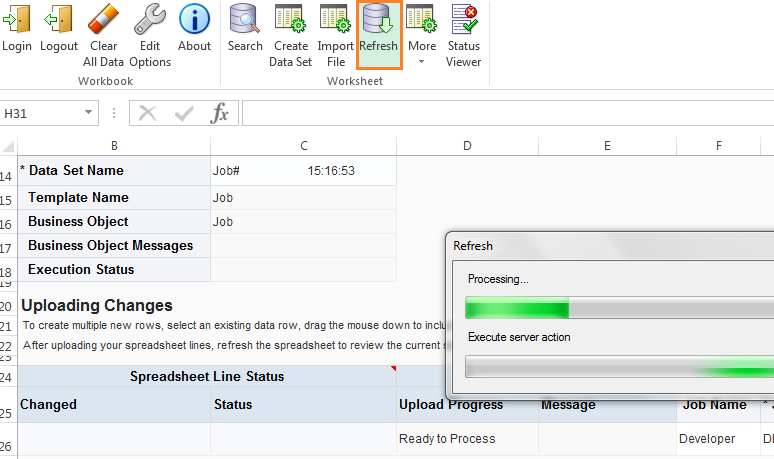
Populate values to each record of spreadsheet template and click on Save button. It will validate and load the data into fusion Stage table.
Select both check box and click on “OK” Button.

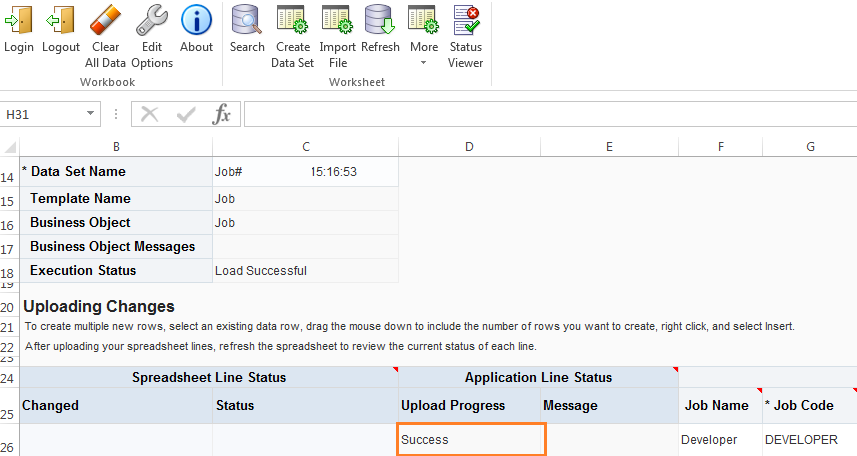
After successful data upload into staging table. The Upload Progress status shows as “Ready to Process” and click on “Upload” button. It will validate and load date from stage table to application table.

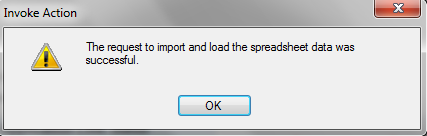
The popup message will appear and confirm that, Import and Load Process has been started.
Navigate to Navigator -> My Workforce -> Data Exchange
Click on “Import and Load data” Task on HCM Data Loader section and view the batch result. The batch result will shows summary details of the batch(i.e. status, Number success records/Failed Records etc.)
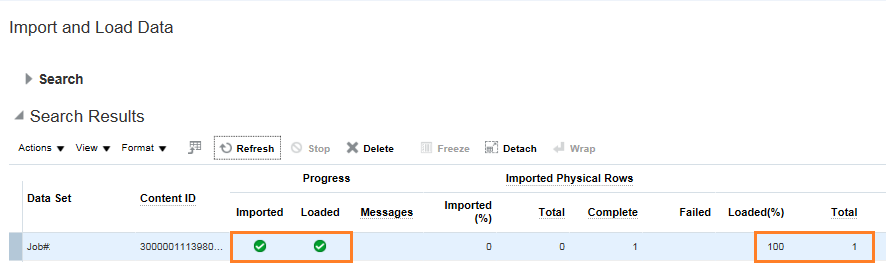
Click on the refresh button in the spreadsheet.
View the status of the batch and execution status as “Successful”. You are successful created records using HSDL.